Introduction At the beginning of this project, I had little experience with using a 3D printer. As I progressed through this project, I learned the basics in printing simple objects.
This is a sketch idea of what the final project should look like.
Step by Step
Step 1 Using the Inventor website, create a sketch with lines creating the outline for the project. After making your lines, dimension them to the correct sizes.
Step 2 After dimensioning your lines and angles, you are free to extrude the project and make adjustments if needed.
Step 3 Once you have completed the extrusion sketch, send it over to MakerBot to size the height and width.
Step 5 Once your project is saved to the USB, plug the USB into the MakerBot 3D printer(color of your choice) andddddddddd........print!
Step 4 Once you have completed the sizing in Maker Bot, plug in your personnel USB drive and save it there. Simply, unplug the USB and you are ready to print.
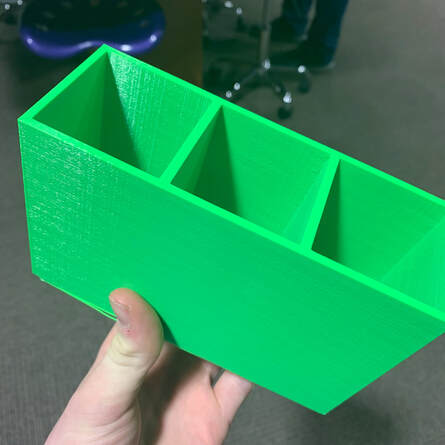
The Finished Project
Summary The whole time I was working on my project, I was learning. I learned so much about printing 3D things with a Maker Bot