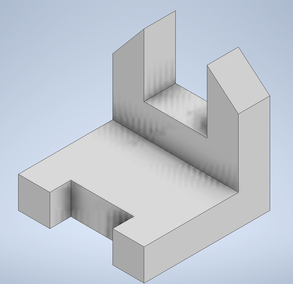
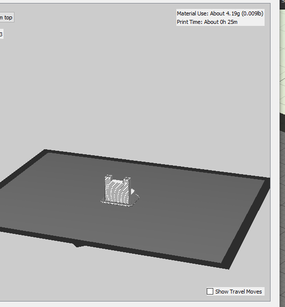
Inventor is a design software for sketching shapes and objects to be printed on 3D printers. You can dimension the objects to the correct length and width. A 3D printer is a printer that can print objects with special liquids into a solid object or widget.
The process of sketching in Inventor.
Day One we planned and sketched our widgets on the design software Inventor. We dimensioned our widgets on Inventor and were ready to send it to the MakerBot for final adjustments and print preparation's.
Day Two After finishing the sketches, it was time to size the widget and get printing. We used a software named MakerBot to size and make final adjustments.
(The image to right is the MakerBot preview)--->
.
Day Three Right as class began I began to print my Widget in orange because orange is one of my favorite colors. The MakerBot did not seem to have any problems printing the widget because the finished product came out perfect as imagined.
-The Finished Product
Final Thoughts and Summary
This project was incredibly fun to learn how to use digital software's to create 3D objects and widgets. I look forward to doing more work related to this in the future projects. Once I was able to understand how Inventor worked, I was going through it fast and easily with confidence.